Updating the Navigation
Video Overview

Overview of page
This page shows all of the navigations which have been created, what they have been named, when they were created/modified, who they were created by and a set of actions against each one.
A site can have many navigations, including the Main header, the Footer and the USP bar, all of which can be changed or schedule to change using Remarkable Commerce Manager.
On this page, you can create a new navigation, duplicate an existing one, edit the name/published dates and delete each navigation version.
Edit a navigation
- Click on
Editicon for the navigation you wish to edit
- Ensure the latest version of the navigation is selected, this is normally selected by default

- The navigation is shown on the right-hand side, with options for adding new elements within the left-hand side
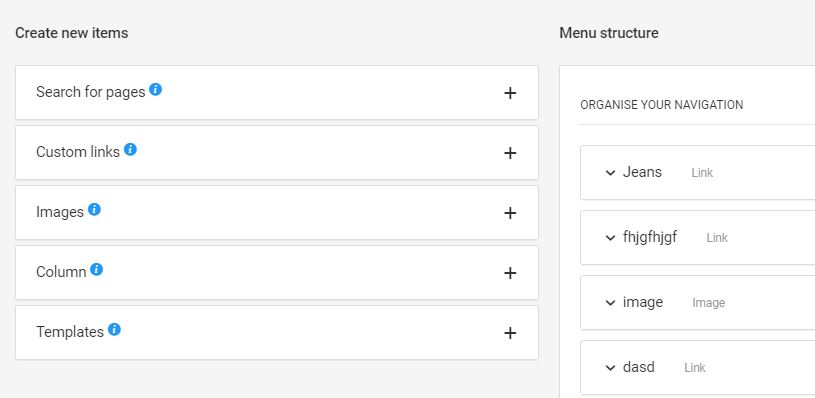
- The right-hand side shows the navigation in a hierachy view, shown vertically down the page. Here is an explanation of it:
On your site:
In RCM admin:
 5. You can add new components to your navigation, these are the available options (from the left-hand side), they are added to the bottom of the navigation list:
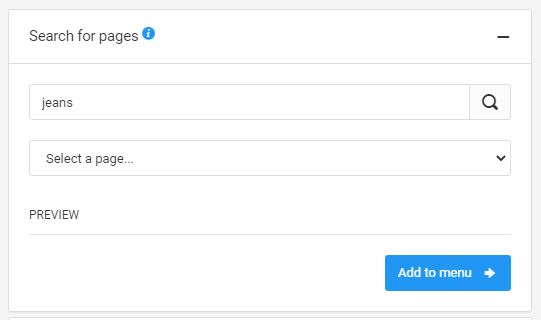
Find an existing category to link to:
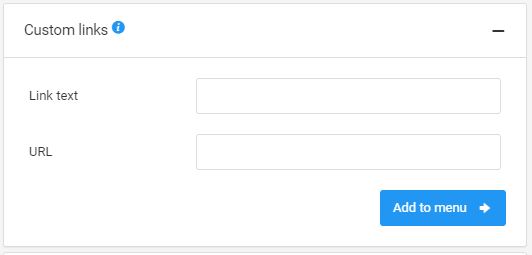
Add a new link:
Add a new image:

Add a new column within your drop-down:

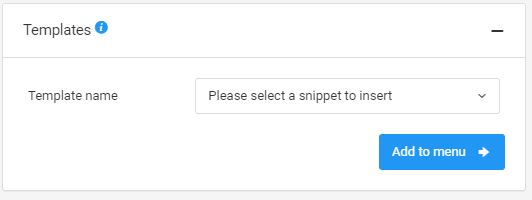
If you are building a new navigation from scratch, it might be easier to use a template to create the initial layout hierachy:
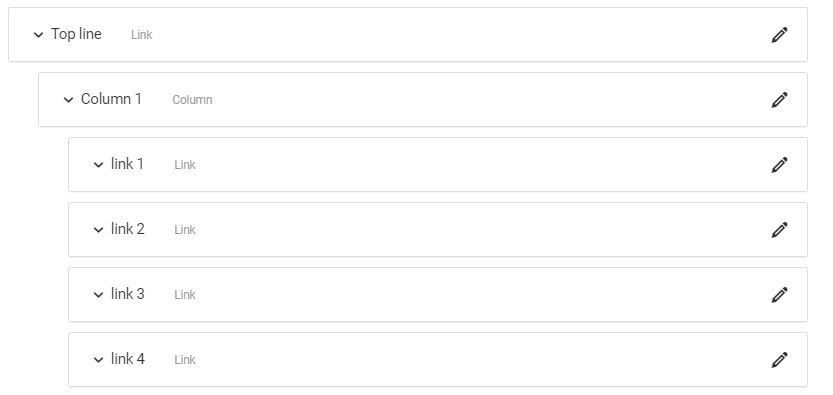
 6. You can open each of the panels by clicking on the pencil icon, to see the options for that particular element:
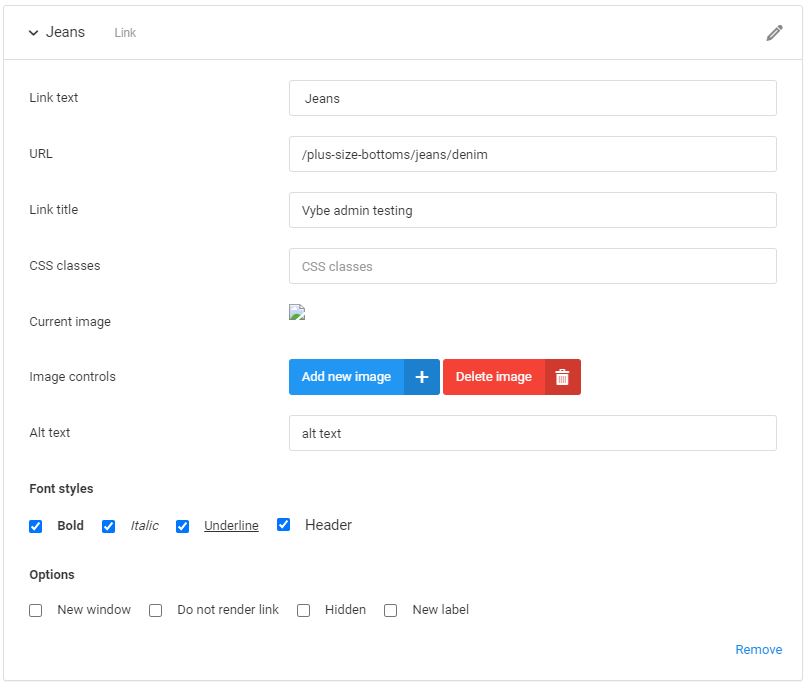
The available options are:
- Link text: This is the text that will appear on your site, for the visitor to see and click
- URL: This is the reletive URL ("/url-example" for example)
- Link title: The link title tag can be used for tracking, SEO and UX purposes
- CSS classes: You can add correctly formatted CSS classes to individual links
- Current image: If you use images as headings or for special purposes, you can add them to links here
- Upload image: Here is how you can upload an image, for the above purpose
- ALT text: The ALT tag is the SEO name of your uploaded images
- Font styles:
- Bold text
- Italics text
- Underline text
- Heading
- Options:
- New window: Open the link in a new window
- Do not render link: Do not show the link on your site or your code [not recommended]
- Hidden: Do not show the link on your site, but keep in the code [not recommended]
- New label: This is a special option which can be used by your developers, to insert a "New" label on your site if this is selected
- Delete: This will delete the component
Preview & test a navigation
At the top of the editor page, you will see a 'Preview' button which will show a pop-up of the navigation.

If you would like to check all of your links will open a page, and not be dead links, you can use the 'Validate' function at the top of the editor page:

Recommendations
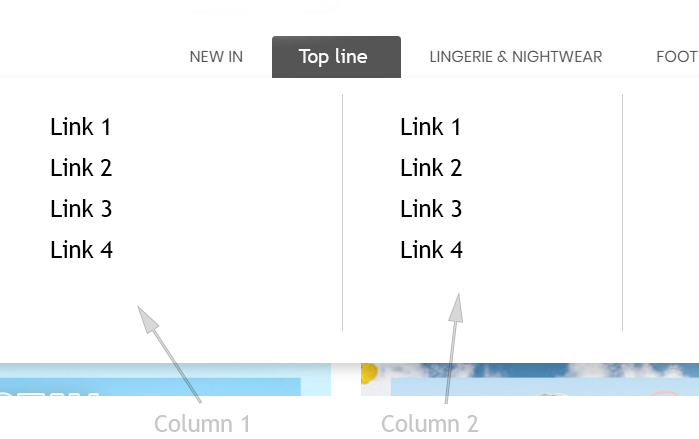
The structure of the navigation is important to ensure your website renders the data correctly. Please remember to ensure you are using columns correctly - inside of your top-line links should be however many columns you would like in that drop-down, and inside of those should be your links.